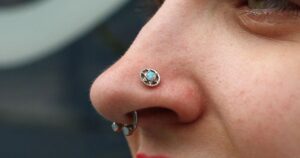
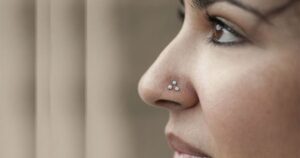
So, you’ve decided to take the plunge and pierce your nose at home. Whether it’s a spontaneous decision or a necessity due to current circumstances, it’s essential to approach the process with caution and knowledge. Piercing your nose at home without a kit can be done safely, but it requires careful preparation and adherence to proper techniques. In this guide, we’ll walk you through the steps, safety precautions, and aftercare tips to ensure a successful piercing experience.
Imagine the satisfaction of rocking a stylish nose piercing without ever stepping foot outside your home. With the right tools and techniques, you can achieve that coveted look safely and affordably. Let’s dive into the world of DIY nose piercing and make your dream a reality.
Gather Your Supplies
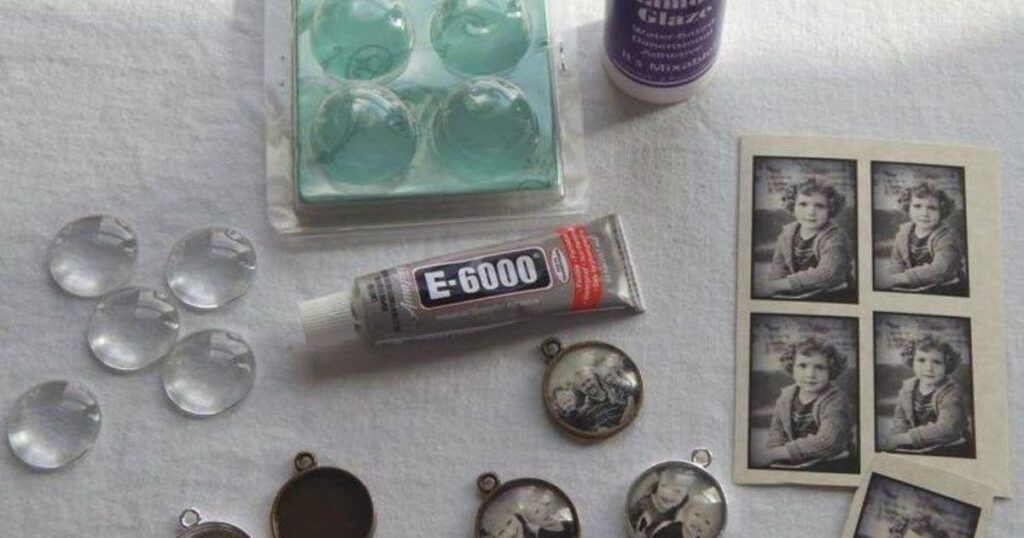
Before embarking on your DIY nose piercing journey, gather all the necessary supplies. While you may not have a professional piercing kit at hand, you can still assemble a makeshift setup with readily available items. Here’s what you’ll need:
- Sterilized needle or safety pin
- Antibacterial soap
- Rubbing alcohol or hydrogen peroxide
- Clean cotton balls or swabs
- Marking pen or sterile marker
- Ice cubes (optional, for numbing)
Prepare Your Workspace
Choose a clean and well-lit area to perform the piercing. Make sure to sanitize the surface and any tools you’ll be using thoroughly. Lay out your supplies in an organized manner, ensuring easy access during the process. Consider covering the surface with a clean towel or disposable paper for added cleanliness.
Marking the Spot
Precision is key when it comes to nose piercing, so take your time to mark the exact placement. Use a sterile marker or pen to identify the spot where you want the piercing. Consider factors like symmetry and aesthetic appeal before finalizing the position. Once marked, double-check the alignment to ensure satisfaction with The Nose Piercing.
The Piercing Process
Numbing (Optional)
If you’re apprehensive about pain, numbing the area can help ease discomfort during the piercing. Hold an ice cube against the marked spot for a few minutes to numb the skin. Alternatively, you can apply a numbing cream if available.
Sterilization
Before proceeding, disinfect the needle or safety pin by soaking it in rubbing alcohol or hydrogen peroxide. Ensure that your hands are clean and sanitized as well to minimize the risk of infection.
Piercing Technique
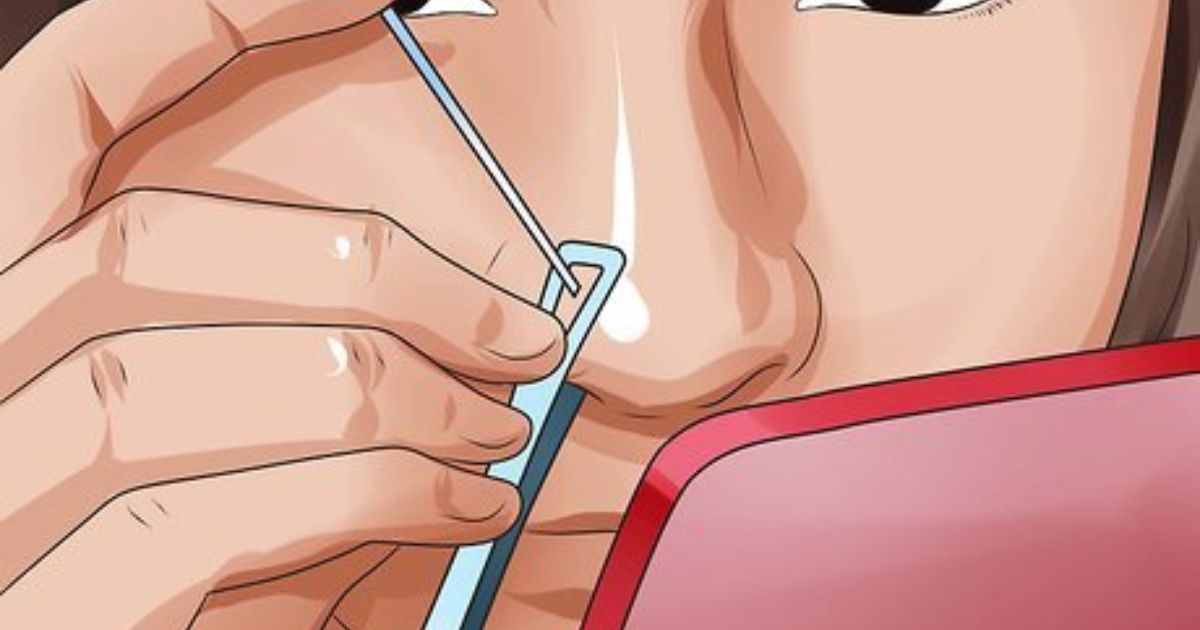
With steady hands, gently insert the needle or safety pin through the marked spot in one swift motion. Keep a firm grip and maintain steady pressure to minimize pain and achieve a clean puncture. Be cautious not to push too forcefully, as it may cause unnecessary trauma to the skin.
Jewelry Insertion
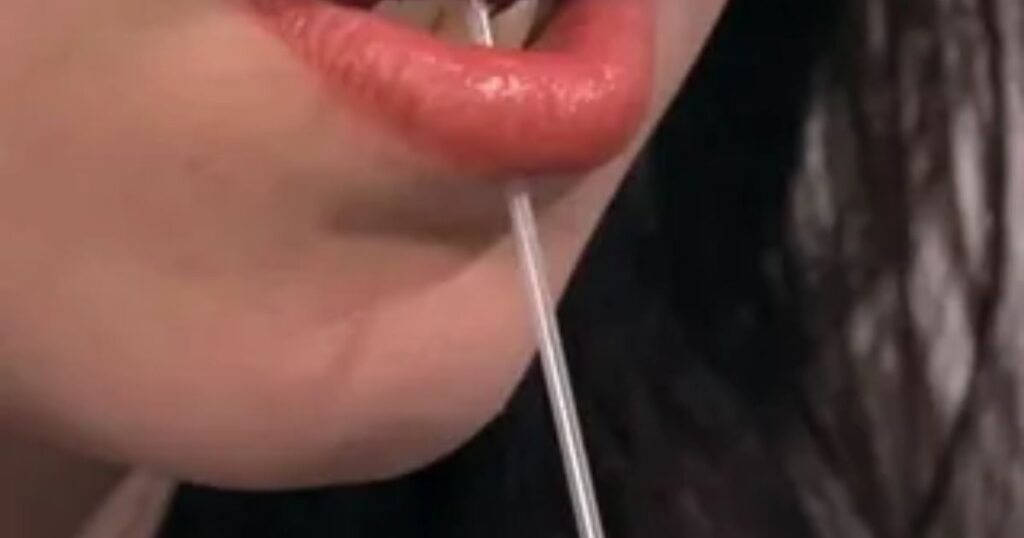
Once the needle is through, swiftly replace it with the chosen nose stud or ring. Ensure that the jewelry is sterile and made of a hypoallergenic material to prevent irritation or allergic reactions. Secure the jewelry in place and adjust as needed for optimal comfort and aesthetics.
Aftercare Routine
Congratulations, you’ve successfully pierced your nose at home! However, the journey doesn’t end here. Proper aftercare is crucial to promote healing and prevent infections. Here are some essential tips to follow:
- Clean the pierced area twice daily with a mild antibacterial soap and water.
- Avoid touching the piercing with unwashed hands to prevent contamination.
- Gently rotate the jewelry while cleaning to prevent it from sticking to the skin
- Avoid swimming pools, hot tubs, and saunas during the initial healing period to minimize the risk of infection.
- Stay vigilant for signs of infection, such as excessive redness, swelling, or discharge, and seek medical attention if necessary
Diy Nose Piercing Kit
Certainly! Below is a simple table outlining the essential items for a DIY nose piercing kit:
| Item | Description |
| Sterilized needle or safety pin | Used for making the initial puncture |
| Antibacterial soap | Used for cleaning the pierced area |
| Rubbing alcohol or hydrogen peroxide | Used for sterilizing tools and surfaces |
| Clean cotton balls or swabs | Used for applying cleaning solutions |
| Marking pen or sterile marker | Used for marking the piercing spot |
| Ice cubes (optional) | Used for numbing the area before piercing (optional) |
| Hypoallergenic nose stud or ring | Jewelry for insertion after piercing |
| Clean towel or disposable paper | Used for covering the workspace for cleanliness |
This DIY nose piercing kit includes essential items to ensure a safe and successful piercing experience at home.
How To Numb Your Nose At Home Without Ice
Numbing your nose at home without ice is possible with some simple alternatives. One option is to use over-the-counter numbing creams or gels, which contain ingredients like lidocaine or benzocaine. These products can be applied to the skin before piercing to dull sensation and minimize discomfort. Another method is to apply a cold compress or frozen vegetables wrapped in a cloth to the area. The cold temperature helps numb the skin, making the piercing process more bearable. By using these alternatives, you can achieve a numb sensation without the need for ice.
Remember, always read and follow the instructions on numbing products carefully to ensure safe usage. Additionally, if you experience any adverse reactions or discomfort, it’s best to discontinue use and seek advice from a healthcare professional. With these simple methods, you can effectively numb your nose at home before piercing, making the experience more comfortable and manageable.
Where To Pierce Your Nose Diagram
A ‘Where to Pierce Your Nose’ diagram shows the ideal placement for a nose piercing. It typically indicates the location on the nostril where the piercing should be made. The diagram helps guide individuals to mark the spot accurately before proceeding with the piercing process, ensuring proper alignment and symmetry for a visually appealing result.
By following the guidelines outlined in the diagram, individuals can achieve their desired nose piercing placement with confidence. Whether piercing at home or in a professional setting, referring to the diagram helps ensure precision and reduces the risk of errors or dissatisfaction with the final result.
How To Pierce Your Nose Septum
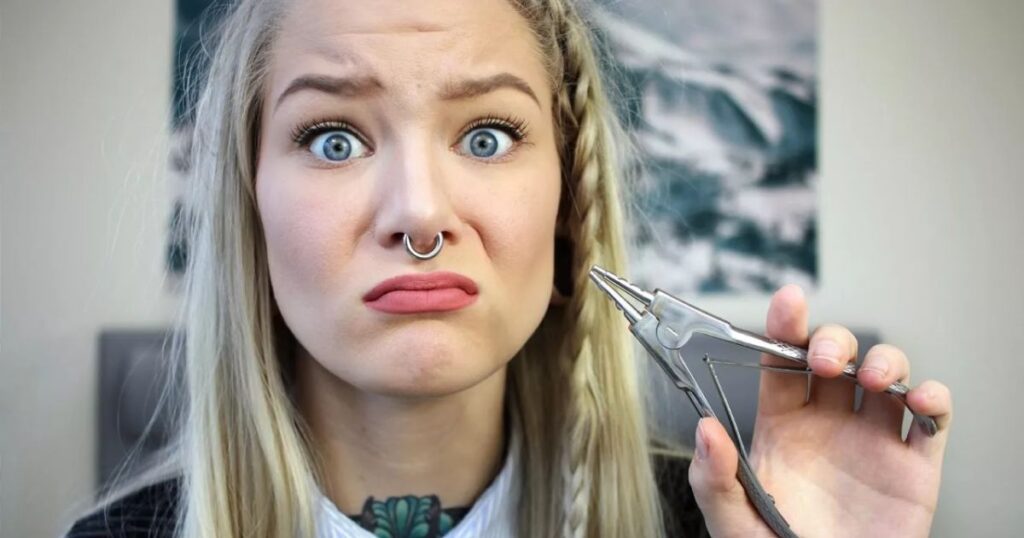
Piercing your nose septum involves careful preparation and attention to detail. Begin by gathering the necessary supplies, including a sterilized needle or piercing tool, antibacterial soap, and rubbing alcohol. Choose a clean and well-lit area for the piercing process, ensuring proper hygiene to minimize the risk of infection.
How To Pierce Your Nose With A Hoop
Piercing your nose with a hoop is a stylish choice that can add a unique flair to your look. To begin, gather all the necessary supplies including a sterilized needle or safety pin, a sterile hoop earring, antibacterial soap, and rubbing alcohol. Cleanse the area thoroughly and mark the spot where you want the piercing with a sterile marker. Carefully insert the needle or safety pin through the marked spot and swiftly replace it with the hoop earring. Ensure the hoop is securely in place and follow proper aftercare procedures to promote healing.
Remember, piercing your nose with a hoop requires precision and caution to minimize discomfort and reduce the risk of infection. If you’re unsure or uncomfortable with the process, it’s always best to seek assistance from a professional piercer. With proper preparation and care, you can rock your new nose hoop confidently and showcase your unique style.
FAQ,s
Is it OK to pierce your nose by yourself?
It is not recommended to pierce your nose by yourself due to the risk of infection and complications.
Are DIY nose piercings safe?
DIY nose piercings can be safe if proper hygiene practices and sterilized equipment are used.
Does piercing your nose yourself hurt?
Piercing your nose yourself can be uncomfortable and may cause pain, but the level of pain varies depending on individual pain tolerance and the piercing technique used.
Are nose piercings haram?
Nose piercings are considered haram (forbidden) in some interpretations of Islamic law, but opinions may vary among scholars and individuals.
Conclusion
In conclusion, piercing your nose at home without a kit is feasible with the right preparation and caution. By following the steps outlined in this guide and prioritizing hygiene, you can achieve your desired look safely and affordably. Remember to adhere to proper techniques, commit to diligent aftercare, and seek professional assistance if needed to ensure a successful piercing experience.
Ultimately, whether you’re opting for a hoop or a stud, nose piercing is a personal choice that allows you to express your individuality and style. With patience, care, and attention to detail, you can enjoy your new nose piercing and embrace the confidence that comes with it. So, take the plunge, flaunt your new accessory proudly, and revel in the beauty of self-expression!
